
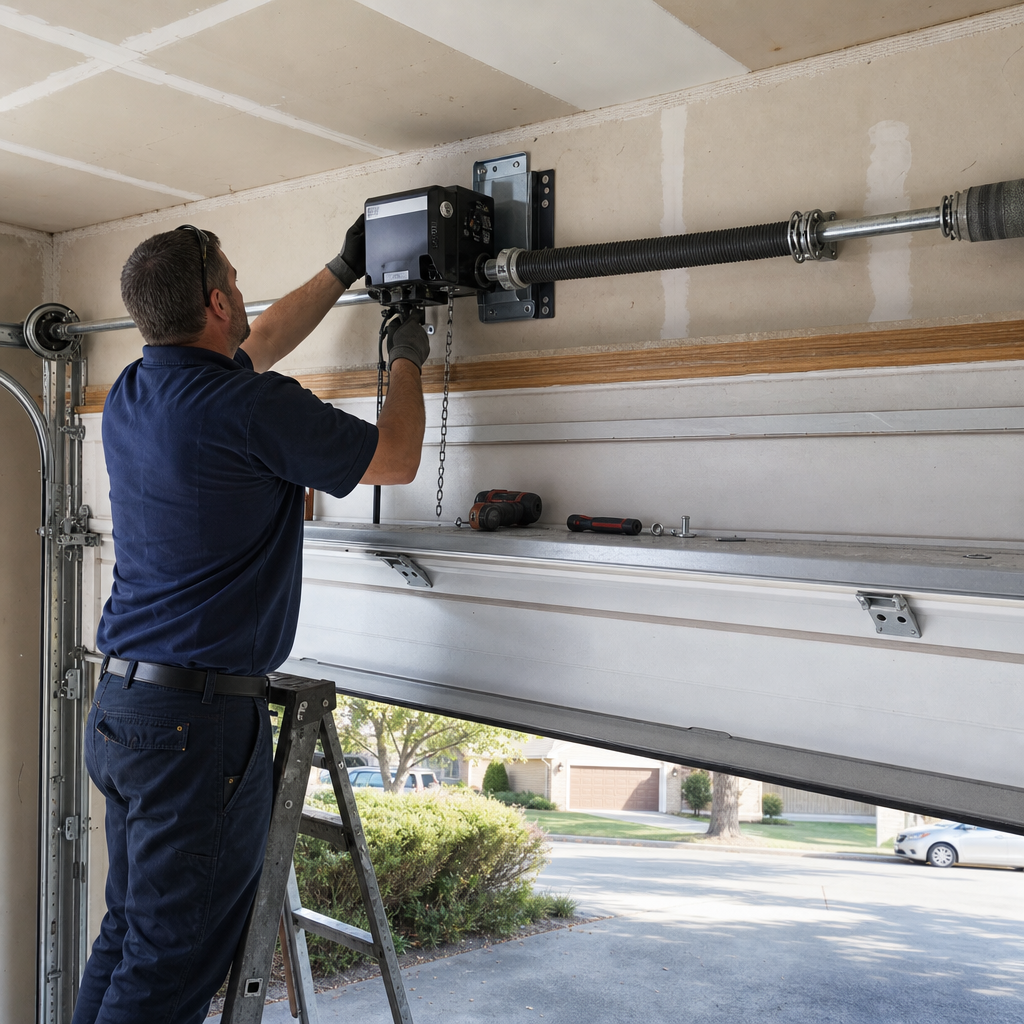
How to Program a Garage Door Opener in Dayton: A Generation-by-Generation Guide
Programming the Best Garage Door Opener in Dayton, OH depends entirely on which of three hardware generations you own: fixed-code systems (pre-1993, DIP switches), rolling-code systems (1993–present, Learn button), or smart/Wi-Fi systems (app-paired). For most Dayton homeowners with a rolling-code opener, the process takes under two minutes: press and release the Learn button on the motor unit, then press the desired remote button within 30 seconds until the opener light blinks or you hear a click. If that doesn’t work, you’re likely dealing with an older fixed-code system, a failed logic board, or a frequency mismatch — all common in Dayton’s mid-century housing stock. Need hands-on help? Call Pinnacle Garage Door Installation Greater Dayton at (833) 348-5999; we’ll walk you through it or come out same-day.
Dayton’s neighborhoods tell a story that generic programming guides ignore. In Huber Heights, one of the largest privately-owned communities of brick ranch homes in the United States, thousands of garages still run openers installed in the 1980s and early 1990s — hardware that predates the Learn button entirely. Down in South Park or the Oregon District, Craftsman bungalows and two-story colonials often have detached alley-access garages where the opener was an afterthought retrofit, not an original feature. And throughout Kettering, postwar ranches with low-ceiling garages force non-standard track clearances that complicate even simple maintenance access. We’ve spent 17 years working on these exact homes, and we’ve learned that “press the Learn button” is useless advice when your opener doesn’t have one.
Which Generation Opener Do You Have? Three Dayton Scenarios
Before you touch a button, identify your hardware. The programming method changes completely across these three generations, and using the wrong instructions can wipe your existing codes or leave you with a remote that technically “pairs” but won’t actually open the door.
Fixed-Code Systems: Pre-1993 DIP Switch Openers
If your opener was manufactured before 1993, it almost certainly uses DIP switches — small sliding toggles inside both the remote and the motor unit’s receiver. These set a fixed binary code that never changes. Programming means matching the switch positions exactly between remote and receiver.
Here’s what most guides won’t tell you: fixed-code openers operate on frequencies (typically 300–400 MHz) that are now crowded with interference from LED bulbs, baby monitors, and neighborhood Wi-Fi extenders. More critically, these systems are cloneable with sub-$50 hardware available online. If you’re programming a new universal remote for a fixed-code opener in Dayton, you’re restoring functionality to a system that is fundamentally insecure. We don’t sugarcoat this — Charles Rodriguez, our Owner and Lead Technician, has replaced openers in Huber Heights homes where burglars used code grabbers to empty garages in minutes. Upgrading to a rolling-code opener (installation runs $250–$550 in the Dayton market) is the actual security fix.
Programming steps for fixed-code systems:
- Open the remote casing and the receiver panel on the motor unit (usually a small sliding cover near the antenna wire)
- Match all DIP switch positions identically — up or down, left or right, depending on the manufacturer’s orientation
- Test immediately; if the door doesn’t respond, check for a mismatched switch or a remote on the wrong frequency (some “universal” remotes cover multiple frequencies — verify yours matches your opener’s)
- If the opener has a “code switch” rather than DIP toggles, the same matching principle applies, but the switches may be rotary dials instead
Rolling-Code Systems: 1993–Present, Learn Button Era
The vast majority of working openers in Dayton fall here. Rolling-code technology generates a new code with every use, making cloning impossible. The Learn button — typically purple, red, orange, yellow, or green depending on brand and year — is your entry point.
But “press the Learn button” isn’t universal. Each major brand locates it differently, uses different LED feedback, and enforces different time windows. After 17 years and 1,186 verified reviews, we’ve memorized these sequences, and the differences matter when you’re standing in a cold garage with a remote that won’t pair.
| Brand | Learn Button Location | LED Behavior | Programming Sequence |
|---|---|---|---|
| LiftMaster (1993–2011) | Back or side of motor unit; square button, often purple or red | Steady glow when pressed; blinks when code accepted | Press and release Learn button → LED glows steady → press remote button once within 30 seconds → light blinks or clicks |
| LiftMaster (myQ-enabled, 2011+) | Same physical button, but may require Security+ 2.0 remote | Rapid blinking during pairing mode | Press and release Learn → LED blinks rapidly → press and hold remote button until light flashes or two clicks sound |
| Chamberlain | Near the hanging antenna wire; color-coded by frequency era | Color indicates technology: purple (315 MHz), orange/red (390 MHz), yellow (Security+ 2.0) | Match remote frequency to button color → press and release Learn → press remote within 30 seconds |
| Genie (Intellicode) | Behind light lens or on side panel; may be labeled “Program” or show a small LED | LED turns on steady, then blinks twice when code stored | Press and hold Learn until LED turns on (about 2 seconds) → release → press remote button twice → LED blinks twice to confirm |
| Craftsman (rebranded Chamberlain/LiftMaster) | Same as corresponding Chamberlain era; check manufacturing date on label | Varies by OEM generation | Identify the actual manufacturer (usually on motor label) → follow corresponding Chamberlain/LiftMaster sequence above |
A garage door should work so quietly you forget it’s there — that’s the whole point. When programming goes right, you shouldn’t need to think about it again for years.
Smart/Wi-Fi Systems: myQ, Aladdin Connect, and App-Paired Openers
Newer installations in Dayton’s recent builds or full-gut renovations use Wi-Fi-enabled openers. These pair through manufacturer apps rather than physical buttons, though most retain a Learn button as backup for accessory remotes.
The catch: app pairing requires 2.4 GHz Wi-Fi network access, and Dayton’s older homes often have spotty garage coverage from routers positioned for living-room streaming, not concrete-wall garages. If your app won’t find the opener, try standing at the garage door with your phone before blaming the hardware. For myQ specifically, the app will prompt you to press the Learn button once to enter Wi-Fi pairing mode — the LED will flash blue, then solid once connected.
Why Your HomeLink Won’t Pair: The Dayton Used-Car Scenario
Here’s a programming problem generic guides miss entirely. You bought a used Honda or Toyota in Dayton, the previous owner cleared their codes, and now your HomeLink system — the built-in garage buttons on your visor — refuses to pair with your opener despite following the “press and hold” instructions in your owner’s manual.
The issue is generational mismatch. HomeLink systems manufactured before roughly 2010 don’t natively understand rolling codes. They require a three-step “bridge” process:
- Program a standard handheld remote to your opener first (using the Learn button sequence above)
- Hold that working remote 1–3 inches from your HomeLink buttons, press and hold both the remote button and desired HomeLink button simultaneously until the HomeLink LED changes from slow blink to rapid blink (usually 15–30 seconds)
- Immediately press the Learn button on your opener again, then return to the vehicle and press the programmed HomeLink button two or three times until the opener responds
This “training remote + bridge to HomeLink” sequence frustrates plenty of Dayton drivers, especially those with vehicles inherited from family or purchased from the dense used-car market around I-70 and I-75. We’ve fielded this call enough that Charles keeps a spare Genie and LiftMaster remote in his service truck specifically to walk customers through the bridge process on-site.
When Programming Fails: Three Signs It’s Not User Error
Sometimes the opener won’t program because the opener itself is failing. These three symptoms point to hardware problems, not procedural mistakes:
- The Learn button doesn’t respond at all. No LED, no click, no change when pressed. This typically indicates a failed logic board — the computer that manages code storage and motor control. Logic board replacement ($120–$320 in our Dayton service range) often approaches the cost of a new opener installation ($250–$550), and we’ll give you straight guidance on which makes sense for your unit’s age.
- The remote pairs successfully, but the door doesn’t move. The opener light may blink in acknowledgment, yet the motor stays silent. This suggests the logic board accepts codes but can’t execute the motor command — again, likely board failure, or potentially a stripped drive gear that the motor can’t overcome.
- The remote only works within two feet of the motor unit. This is almost always a failing receiver circuit or damaged antenna wire. We’ve seen this repeatedly in Dayton’s freeze-thaw climate, where moisture intrusion corrodes antenna connections over years of temperature swings from teens to mid-50s within days.
In any of these cases, continuing to attempt programming is wasted time. The fix is diagnostic and repair, not button-sequence variation. Our Garage Door Opener service page details what full opener service covers, or you can call us directly.
Dayton’s Climate Reality: Why Older Openers Struggle Here
Dayton’s Miami Valley geography channels moisture and produces sharp freeze-thaw oscillations that fatigue components faster than drier inland markets. That 1987 Genie in your Huber Heights ranch? Its circuit board has endured thousands of thermal cycles, and its capacitors are well past design life. The galvanized antenna wire on your Kettering Craftsman? Pitted from humidity that Columbus garages simply don’t see at the same intensity.
When we evaluate whether to repair or replace an opener that won’t program, we factor this local aging into our recommendation. A logic board replacement on a 20-year-old unit in Dayton’s climate often buys you two to three years before the next component fails. A Garage Door Opener Installation in Dayton, OH with modern rolling-code or smart technology gives you a decade-plus of reliable operation — and the security of code-hopping technology that fixed-code systems can’t match.
Programming vs. Professional Service: Cost Clarity
If you’re stuck and considering whether to keep troubleshooting or call for help, here’s how our Dayton pricing breaks down:
| Service | Typical Range | When It Applies |
|---|---|---|
| Opener Repair (diagnostic + fix) | $120–$320 | Logic board issues, antenna replacement, gear repair, motor capacitor failure |
| Opener Installation (new unit) | $250–$550 | Irreparable older unit, security upgrade from fixed-code, smart feature addition |
| Remote/Keypad Programming Assistance | Included with service call | When we’re already on-site for repair or installation |
We don’t charge a separate “programming fee” — if we’re there to fix the hardware, we’ll get your remotes, HomeLink, and app connectivity sorted as part of the job. For straightforward programming help on a functional opener, we’re happy to talk you through it by phone at no charge. That’s the accountability you get when the Owner and Lead Technician is still personally invested in every customer interaction.
FAQs
For rolling-code openers (1993 and newer), press and release the Learn button on the motor unit, then press your remote button within 30 seconds until the opener light blinks or clicks. For fixed-code pre-1993 systems, match the DIP switches inside the remote and receiver exactly. If your opener is in a Dayton home built before 1990, check for DIP switches first — many of these units are still running in Huber Heights and Kettering ranches. Call (833) 348-5999 if you’re unsure which generation you have; we’ll help you identify it over the phone.
The Learn button itself may be failing, the logic board may not store new codes, or the remote may operate on a mismatched frequency. In Dayton’s climate, moisture damage to the receiver circuit is a common culprit we see on openers past 15 years of age. If the button produces no LED response, or the remote only works when held directly against the motor unit, the problem is hardware failure — not programming technique. A service call for opener repair runs $120–$320, and we’ll diagnose whether repair or replacement makes more sense for your specific unit.
For openers under 10 years old with isolated issues like a failed gear or capacitor, repair at $120–$320 is usually the better value. For fixed-code openers from the 1980s or 1990s, or units with multiple failing components, replacement at $250–$550 is more economical long-term — plus you gain modern security and smartphone connectivity. In Dayton’s moisture-heavy climate, we often find that a 20-year-old opener with one failed part has additional corrosion waiting to surface. We’ll give you an honest assessment, not a sales pitch. Call (833) 348-5999 for a free estimate.
Yes — same-day and Emergency Garage Door Opener in Dayton, OH service are available for situations where your garage is stuck open or you’re unable to secure your home. If the issue is purely programming help on a functional opener, we’ll attempt to walk you through it by phone first at no charge. For hardware failures requiring our presence, we typically schedule within hours, not days. Our 1,186 verified reviews at a 4.9-star average reflect the consistency of that response.
Need a Hand? We’re Local, We’re Experienced, and We’re Accountable
We’ve programmed, repaired, and replaced openers across every Dayton neighborhood — from the brick ranches of Huber Heights to the tight alley garages of the Oregon District, from Kettering postwar builds to downtown loft conversions. Charles and his team have seen the full spectrum of hardware generations, frequency mismatches, and climate-worn components that generic tutorials can’t address. If you’d rather have it looked at, Pinnacle Garage Door Installation Greater Dayton offers a no-pressure assessment in Dayton — call (833) 348-5999 for a free estimate.
Written by Charles Rodriguez, Owner & Lead Technician at Pinnacle Garage Door Installation Greater Dayton, serving Dayton, OH.